What Components Are Essential for Building a Desktop? A Comprehensive Guide – 2024
Building a desktop PC from scratch may seem daunting at first. However, it can be rewarding and cost-effective.
You can obtain a customized machine tailored to your specific needs. Understand the essential components and their functions. Then, you can confidently embark on assembling your own desktop computer.
In this article, we’ll provide guidance on the necessary components for building a desktop. We’ll also explain how to navigate through the process. This will ensure a successful and rewarding result.
You’ll need several components to build a desktop PC. A computer system includes a case, motherboard, CPU, GPU, RAM, SSD or HDD, cooling system, PSU, and a monitor. Selecting compatible components that suit your needs is crucial to a successful build. It provides the best performance.
With a foundation in mind, the building process involves assembling the components. Then, installing them properly within the case. Then, connect all cables and ensure that everything runs smoothly.
It’s important to be patient, organized, and methodical when assembling a desktop PC. You should also know any specific instructions for your chosen components. Be familiar with any requirements, too.
Key Takeaways
- Understand the essential components needed for building a desktop PC
- Ensure compatibility and suitability of components for your specific needs
- Follow a methodical approach for assembly, installation, and testing.
Choosing the Right Components
When building a desktop computer, it’s essential to select the proper components. This ensures compatibility, performance, and reliability.
In this section, we will discuss the key components needed. They are the Processor (CPU), Motherboard, Memory (RAM), Graphics Card (GPU), and Storage.
Processor (CPU)
The central processing unit (CPU) is the brain of your computer. It’s responsible for executing the instructions of your software.
There are two major brands in the CPU market, Intel and AMD. When selecting a CPU, consider factors like performance and compatibility with the motherboard. Also, consider the socket type. For example, Intel Core uses LGA sockets, while AMD Ryzen uses AM4 sockets.
Some popular CPUs include the Intel Core i5 and the AMD Ryzen 5. For high-end performance, consider an AMD Ryzen Threadripper or Intel Core i9.
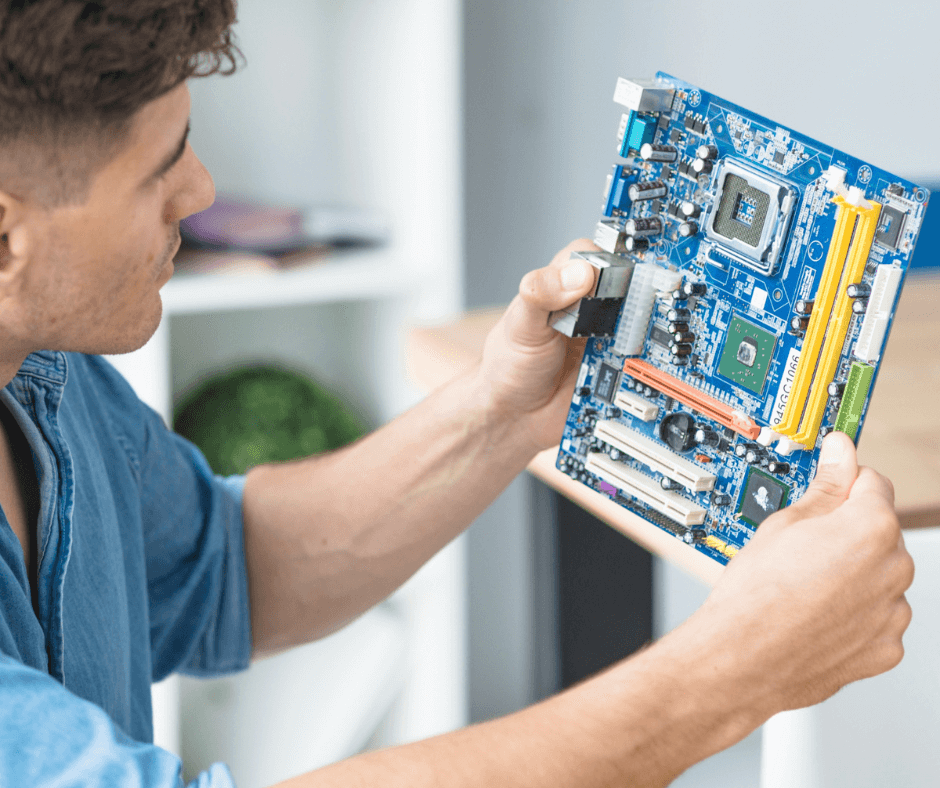
Motherboard

The motherboard is the main circuit board that holds all the components of your PC. It ensures they communicate with each other efficiently. When choosing a motherboard, consider its form factor, chipset compatibility, and the number of expansion slots.
Common form factors are ATX, Micro-ATX, Mini-ITX, and EATX. Each offers different features and sizes, affecting compatibility with the case you select. Your motherboard must be compatible with your chosen CPU socket. It must also support the RAM and PCIe expansion slots. Consult the motherboard manual for guidance on compatibility and installation.
Memory (RAM)
Your computer’s memory (RAM) is essential for temporary data storage and multitasking performance. For modern PCs, DDR4 RAM is the best choice.
RAM is available in various sizes. 8 GB is recommended for typical users. Gamers and advanced users should consider 16 GB or more. Look for RAM that is compatible with your motherboard. Also, find RAM that offers a balance between speed and capacity.
Graphics Card (GPU)
The graphics processing unit (GPU) renders images and videos on your computer screen. If you plan to use your PC for gaming or other high-performance tasks, investing in a powerful GPU is crucial. There are two major brands in this market: NVIDIA and AMD.
Consider factors such as performance, compatibility with your chosen CPU and motherboard, available software, and support.
Storage
Storage drives store your computer’s operating system, programs, and personal files. There are two main types of storage: hard disk drives (HDDs) and solid-state drives (SSDs).
HDDs are slower but offer more storage space for the price. SSDs are faster but often more expensive for larger capacities. Consider your budget and storage needs when choosing a storage drive. Experts often recommend using a mix of both drive types for best performance and value.
We carefully select each essential component based on compatibility and performance. This ensures a smooth and efficient experience with our custom-built desktop.
Building the Foundation
When building a PC, the foundation is crucial for creating a stable and efficient system. In this section, we will cover the two basic components needed to establish this foundation: the Computer Case and the Power Supply (PSU).
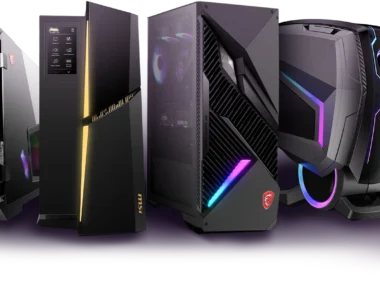
Computer Case
Selecting the right computer case is essential. It houses all the components of your desktop. Compatibility with your selected components should be a top priority.
PC cases come in various sizes, commonly referred to as form factors. These include ATX, Mini-ITX, and MicroATX. Choose a case that matches the form factor of your motherboard. This will ensure proper fitting and functionality.
- ATX: a standard form factor that offers the most options, such as multiple expansion slots, drive bays, and cooling options.
- Mini-ITX: a smaller form factor that is great for compact builds and space-saving setups. Limited to fewer expansion slots and drive bays.
- MicroATX: a middle ground between ATX and Mini-ITX, offering a balance between size and expansion options.
Before assembling your computer, it’s helpful to set up a clean, spacious workspace. This allows you to easily organize your components as you build. It minimizes the risk of losing or damaging parts.
Power Supply (PSU)
The power supply unit (PSU) is a vital component, as it provides power to your entire system. When selecting a PSU, consider the following factors:
- Check compatibility: Ensure the PSU has the necessary connectors. They connect your specific components, such as the motherboard, GPU, and drives.
- Wattage: Choose a PSU with a wattage rating that can support the power needs of your components. Keep in mind that it’s better to have a little extra wattage than to be underpowered.
- Efficiency: Look for PSUs with an 80 PLUS rating, which indicates they’re energy-efficient and will save energy costs in the long run.
Power supplies can be either modular or non-modular:
- Modular PSU: Allows you to use only the required cables, limiting clutter and improving airflow inside the case. Easier cable management.
- Non-modular PSU: All cables are permanently attached to the unit, which can make cable management a bit more challenging.
By choosing the right case and power supply for your build, you’ll create a solid foundation. It ensures stability and compatibility with your other components.
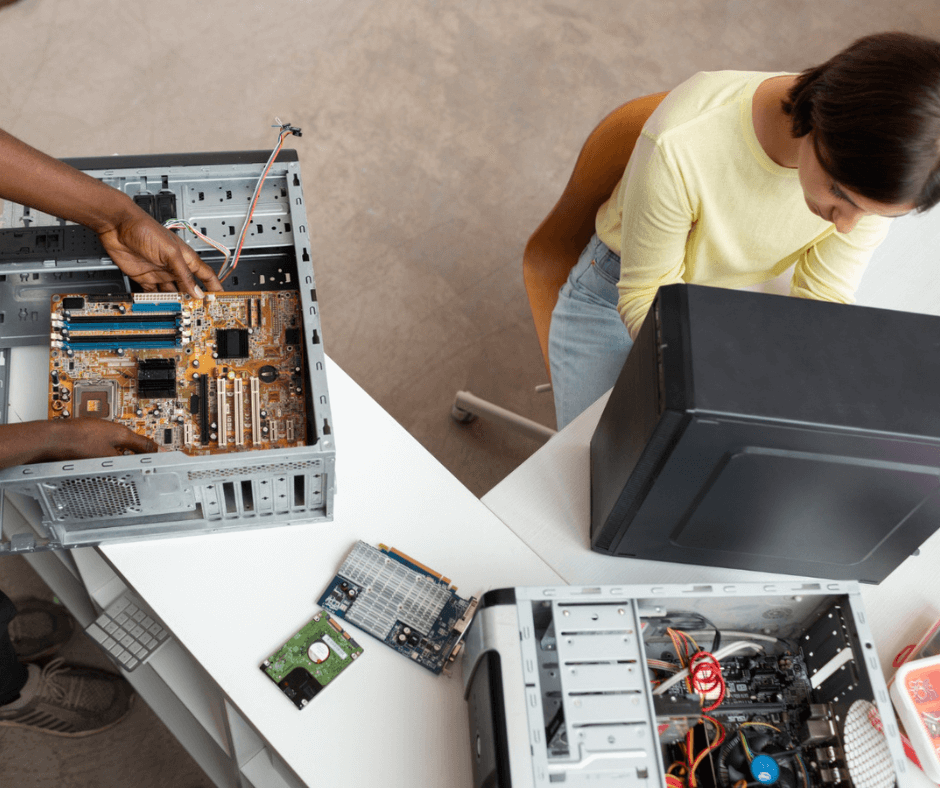
Assembly and Installation

In this section, we will cover the essential steps for assembling and installing the components needed to build a desktop computer. We’ll discuss important aspects. These include preventing static damage, managing hardware, and installing key components.
Installing the CPU
First, let’s focus on installing the processor. Carefully open the CPU socket on the motherboard by lifting the tension lever. Gently place the CPU into the socket. Make sure the notches align and the processor sits flush in the socket. Apply a small amount of thermal paste on the CPU’s surface. This helps with heat transfer between the CPU and the cooler.
Mounting the Motherboard
Before mounting the motherboard, ensure you choose the correct form factor. For example, ATX, microATX, or mini-ITX should match the motherboard and case. Secure the motherboard on the case using standoffs and screws. Maintain an appropriate distance between the motherboard and the case for proper airflow.
Setting Up Cooling Systems
When it comes to cooling, several options are available. These include air coolers, liquid cooling systems, and aftermarket coolers. First, ensure the CPU cooler is compatible with your processor. Apply the cooler to the CPU with thermal paste to ensure the best heat transfer. Secure the cooler on the CPU using mounting brackets. Attach the fan to the cooler. Connect the fan cable to the motherboard.
Adding RAM and Storage
To install RAM, locate the memory slots on the motherboard, and align the notches on the RAM module to the slot. Press the memory stick firmly until it locks into place. Similarly, for storage options like hard drives and solid-state drives (SSDs), connect the power and data cables to the drives and then mount them securely to the drive bays on the case.
Installing the GPU
When installing the graphics card, first ensure there is enough space and proper performance in the PCI slot. Remove any brackets covering the slot, press the GPU gently into the slot, and secure it to the case using screws. Connect any necessary power cables from the power supply to the GPU.
Connecting the PSU
Finally, connect the power supply unit (PSU) to the computer. Choose a modular power supply for easier cable management. Secure the PSU to the case using screws. Connect all necessary cables to the components.
This includes the motherboard, GPU, and storage devices. Use zip ties or cable ties to organize and group the cables. This prevents them from obstructing airflow in the case.
Finalizing Your Build

Ensuring Proper Cable Management
Good cable management is crucial for a clean and efficient workspace when building a desktop PC. We recommend using zip ties or Velcro straps to bundle cables together. They keep cables organized.
This not only improves airflow within the system but also makes it easier to maintain and troubleshoot your build in the future. When connecting cables, ensure that they are properly plugged into their respective components. Also, make sure the connections are secure.
Setting Up the Operating System
Once the hardware is properly assembled, it’s time to install the operating system (OS). One popular choice for desktop PCs is Windows. To install Windows, you’ll need a USB drive or a Windows installation disc with the installation files.
Insert the USB drive or disc into the appropriate slot, then power on the PC and access the BIOS or UEFI settings. From here, select the boot option to prioritize the installation media. Follow the on-screen instructions to complete the installation process.
Installing Peripherals
After installing the OS, connect your monitor, keyboard, mouse, and any other peripherals to the PC. Check for compatibility between the devices and the PC’s ports (e.g., USB, HDMI, or DisplayPort). Turn on the PC and peripherals, ensuring that they’re functioning correctly.
Performing a Post-Build Check
Performing a post-build check is essential for ensuring optimal performance. It also helps troubleshoot any potential issues. When you start the PC, access the BIOS or UEFI settings. Verify hardware configurations, such as RAM and storage devices. Make sure your PC recognizes all installed components. Make sure they’re properly configured.
If you have any issues, like a component not being recognized or the system not booting up, double-check your connections. Also, consult the motherboard manual for troubleshooting steps.
If you encounter any problems during this stage, ask knowledgeable friends or online forums for help. Now that your desktop is set up and all checks have been completed, enjoy the satisfaction of successfully building your own PC!
Additional Considerations
Budgeting for Your Build
When building a desktop, it’s essential to set a budget that aligns with your goals and needs. This is whether it’s for gaming, productivity, or general usage. Use a tool like PCPartPicker to help you find the best components at competitive prices. Make a list of essential hardware, such as:
- Processor (CPU)
- Graphics Card (GPU)
- Motherboard
- Storage (SSD/HDD)
- Memory (RAM)
- Power Supply Unit (PSU)
- Case
Factor in optional components such as:
- Aftermarket cooling solutions
- RGB lighting and aesthetics
- Additional storage
- Optical drives
Remember that investing in quality components now can save you money in the long run by reducing the need for frequent upgrades.
Selecting Quality Components
When choosing components, it’s crucial to prioritize quality and reliability. This can be achieved by following a few simple guidelines:
- Read reviews and compare products within your budget.
- Stick to trusted brands that are known for their build quality and customer support.
- Don’t neglect the importance of compatibility. Ensure that your chosen components work well together and fit in your selected case.
- Consider warranty and support services offered by manufacturers, as these could come in handy if any issues arise.
Planning for Future Upgrades
Building a desktop with an eye on future-proofing can help extend the life of your system, making it easier to upgrade as your needs evolve. Some essential aspects of future-proofing include:
- Choosing a motherboard with room for expansion, such as additional memory slots or PCIe lanes for future GPU upgrades.
- Selecting a power supply unit with sufficient wattage for potential upgrades.
- Opting for a gaming PC case that offers ample space for additional fans, cooling solutions, or extra drives.
Consider your budget. Choose quality components. Plan for future upgrades. Your custom-built desktop will serve you well and be a valuable investment.
Frequently Asked Questions of What Components Are Essential for Building a Desktop
What are the minimum hardware parts necessary for a desktop computer?
To build a desktop computer, you will need at least the following components: a case, a motherboard, a CPU, RAM, storage (like a hard drive or solid-state drive), and a power supply (PSU).
If the CPU doesn’t have integrated graphics, you may need a dedicated GPU. Finally, you’ll need basic peripherals to operate the system. These include a keyboard, mouse, and monitor. For a more detailed guide, Lifewire has a comprehensive checklist.
What additional components are required to set up a gaming PC?
A gaming PC needs a more powerful CPU, GPU, and extra RAM. These are essential for running demanding games. You may also consider upgrading your storage to an SSD for faster load times.
You should also invest in a higher-quality power supply. This will support the increased power requirements. A gaming monitor can enhance the gaming experience. Peripherals like a mechanical keyboard and gaming mouse can also enhance the experience.
How do I select compatible components for building a desktop?
When selecting components, compatibility is crucial. First, ensure your chosen CPU and motherboard share the same socket type. Next, verify that the motherboard supports the RAM type and capacity you plan to use.
Also, ensure that your desired GPU and other expansion cards can fit within the case. Also, make sure the motherboard supports these cards. RDokan offers a helpful guide on understanding essential computer parts.
Can you list the essential peripherals needed alongside building a desktop?
When building a desktop, don’t forget essential peripherals. This includes a monitor, keyboard, mouse, and speakers or headphones. You may also need a webcam and microphone if they’re not built into the monitor.
Additionally, a network cable or Wi-Fi adapter is necessary for internet connectivity. Unless your motherboard comes with built-in Wi-Fi.
What are the critical components to prioritize for high-performance computing?
When aiming for high-performance computing, prioritize components such as a powerful CPU. Also, choose ample high-speed RAM and a capable GPU. Depending on your use case, you may also need high-capacity storage.
You may also need a fast SSD. You may also need an efficient cooling solution. You can choose either air or liquid. This will help maintain stable performance levels. Invest in a reliable, high-quality power supply. This will ensure proper operation of all components.
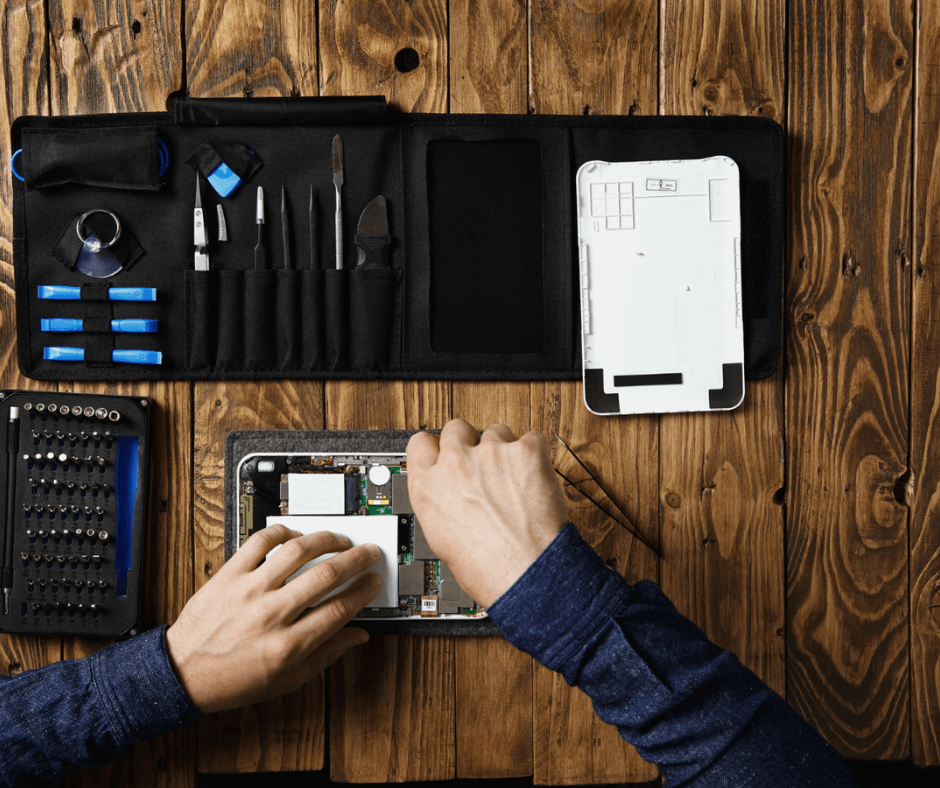
For the assembly of a desktop computer, what tools and accessories do you need?
To assemble a desktop computer, you will primarily need a screwdriver. Ideally, it should have a magnetic tip for securing screws. It’s recommended to have a tool kit designed for building PCs.
Additionally, you’ll need thermal paste or a thermal pad for the CPU cooler. You’ll also need cable ties or Velcro straps for cable management. You’ll also need a can of compressed air. Use it to clean any dust or debris from components before installation.