How to Build a Desktop PC: A Friendly Step-by-Step Guide
“How to Build a Desktop PC.” Explore step-by-step instructions for a seamless and rewarding experience. Building a desktop PC can be rewarding. Especially when you consider the customization and performance it offers.
As we dive into this topic, we’ll explore the essential steps to building a desktop PC. We’ll discuss choosing the right components. We’ll also cover assembling the PC and installing the operating system. With our guidance, you’ll be able to create your dream computer. You’ll feel proud of your accomplishment.
Building a desktop PC requires careful planning and some technical know-how. It’s important to understand this. Research the components and prepare the right tools. You’ll be well-equipped for the task ahead.
Throughout this process, remember to take your time and always double-check your work. This will ensure a successful build and minimize the risk of potential issues.
Key Takeaways of How to Build a Desktop PC
- Proper component selection and compatibility are crucial for a successful build.
- Careful assembly and installation of the operating system ensure a stable and functional desktop PC.
- Testing and final setup help verify system performance and safeguard against potential issues.
Choosing the Right Components
Processor (CPU)
When building a desktop PC, the first component we need to consider is the processor (CPU). The CPU is the brain of the computer and has a significant impact on performance. We can choose from various brands, like Intel and AMD.
Consider factors such as core count, clock speed, and power consumption when selecting a CPU. Remember, a powerful CPU also requires a compatible motherboard.
Motherboard
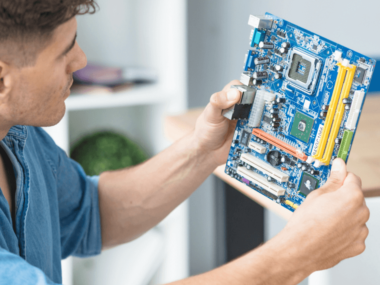
The motherboard is the backbone of the computer, connecting all the components together. When choosing a motherboard, we should ensure it’s compatible with our CPU and other components. Important factors to consider are the chipset, socket type, and RAM compatibility. Also, onboard features like Wi-Fi or Bluetooth are important to consider. Also, consider expansion slots.
Memory (RAM)
Memory (RAM) is essential for running applications and multitasking. We should consider the size (measured in GB) and speed (measured in MHz) when selecting memory. Generally, 16GB will be sufficient for most users in 2024. In addition, we should ensure the RAM is compatible with the motherboard and CPU.
Storage (HDD/SSD)

When it comes to storage, we have two main options: hard disk drives (HDDs) and solid state drives (SSDs). HDDs offer large storage capacities at lower costs. However, they have slower read/write speeds compared to SSDs. SSDs provide faster performance and are more durable.
However, they have a higher cost per gigabyte. We suggest using an SSD for the operating system. We also suggest using an SSD for frequently used applications. We also suggest using an HDD for bulk storage.
Video Card (GPU)
A video card (GPU) renders graphics and displays images on your screen. For gaming or graphics-intensive tasks, a dedicated GPU is necessary for smooth performance. Popular GPU brands include NVIDIA and AMD.
When choosing a GPU, consider factors such as performance, power consumption, and price. Additionally, make sure the power supply can support the GPU’s power requirements.
Power Supply (PSU)
The power supply (PSU) provides the necessary power for all the components in the computer. We should choose a PSU with a wattage that will safely and efficiently power our components. Consider factors such as efficiency rating (80 Plus, Bronze, Silver, Gold, etc.). Also, consider whether the design is modular or non-modular. Consider the cable management options.
Case
The case houses all the components. Choose a case based on design preference, airflow, size, and compatibility with other components. Common form factors include ATX, mATX, and Mini-ITX. When selecting a case, we should ensure it has enough space for all our components. It should also support adequate airflow for cooling.
Cooling System
A proper cooling system is crucial for maintaining optimal temperatures. It also prevents components from overheating. There are two main types of cooling systems: air cooling and liquid cooling.
Air cooling uses fans and heatsinks to dissipate heat. Liquid cooling uses radiators, tubing, and liquid coolant. When choosing a cooling system, consider noise level, cooling performance, and compatibility with our case and components.
Assembling the PC
Preparing the Workspace
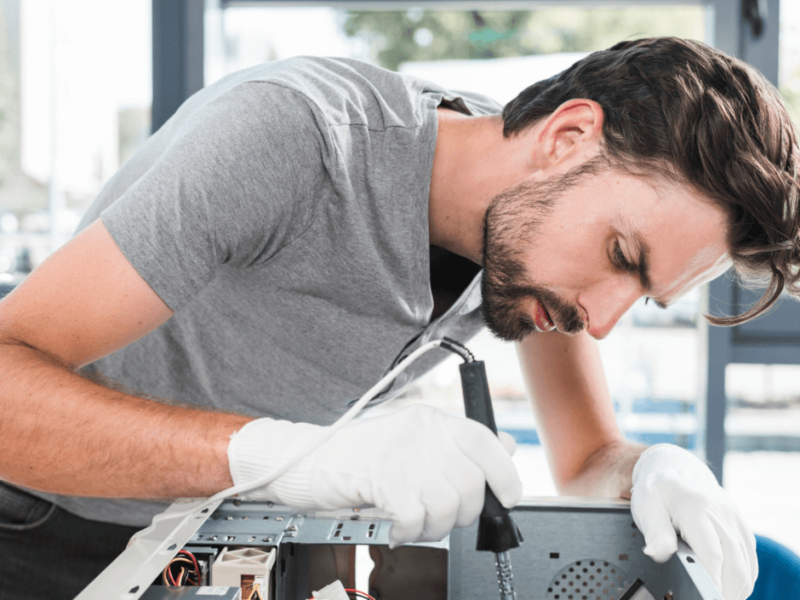
Before we start assembling our desktop PC, we need to prepare our workspace. It should be well-lit, spacious, and free of static. Gather all the required tools (we’ll need a Phillips screwdriver and thermal paste). Keep a container handy to store loose screws and other small parts.
Motherboard Installation
Now, let’s begin with the motherboard installation. Lay the PC case on its side and locate the standoff screws. Place the motherboard gently onto these screws, aligning the holes, and secure with the appropriate screws.
Installing the CPU
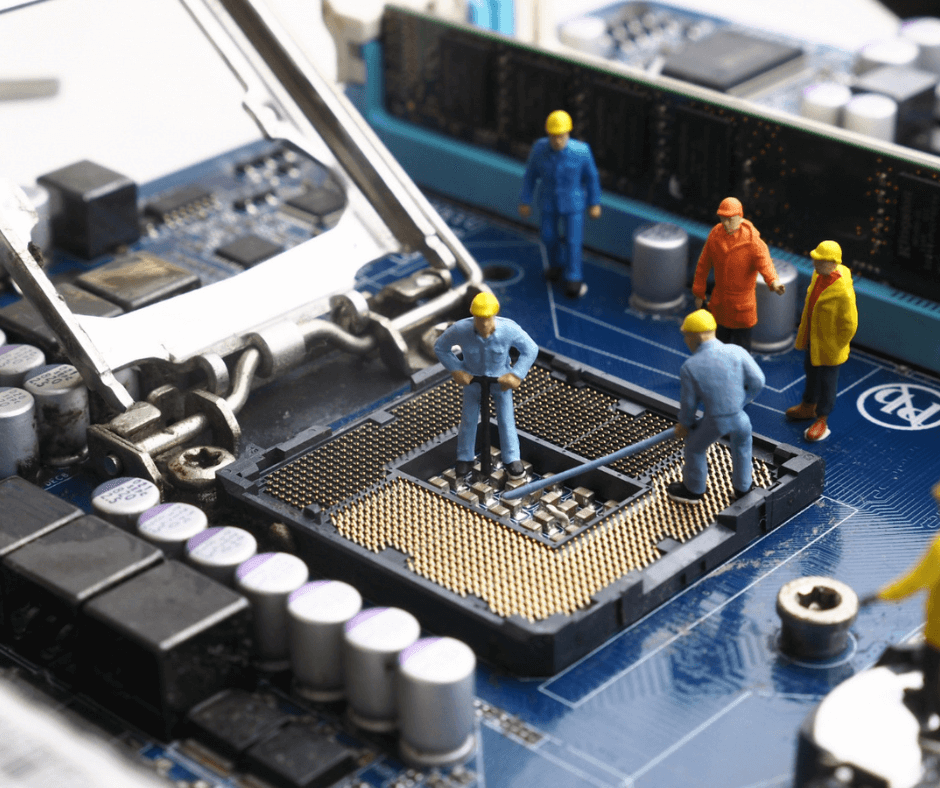
The next step is installing the CPU. Check the CPU socket on the motherboard, and gently lift the CPU arm. Place the CPU into the socket, taking care to align the notches, and lower the CPU arm to lock it in.
Applying Thermal Paste
Before installing the heatsink, we need to apply thermal paste to ensure good heat transfer between the CPU and heatsink. This can be done by placing a small dot (about the size of a grain of rice) of thermal paste in the center of the CPU. When the heatsink is installed, it will spread the thermal paste evenly.
RAM Installation
Time to install the RAM. Locate the RAM slots on the motherboard, open the retention clips, and insert the RAM sticks by aligning the notches. You should feel a click when the RAM is properly inserted.
Storage Installation
For storage installation, find the appropriate mounting points in your PC case. Screw your hard drive or SSD into place, then connect it to the motherboard using the appropriate cables (SATA for most systems).
Power Supply Installation
Now, we can install the power supply. Secure it to the designated slot in the PC case with screws. Make sure the cooling fan faces outward or downward, depending on the case design.
Connecting the Components
Lastly, connect all the internal components using their respective power and data cables. We’ll also need to connect the case fans, front panel connectors, and any additional peripherals. Make sure to route and manage the cables using zip ties for cleaner and more efficient airflow.
By following these steps, we have successfully assembled our desktop PC. Don’t forget to double-check all connections and test the system before closing the case. Good luck and enjoy your new custom-built computer!
Installing the Operating System
Now that our hardware is assembled, it’s time to install the operating system (OS) on our newly built desktop PC. We will walk you through the essential steps to get it up and running.
Firstly, we need to prepare the installation media on a USB drive or DVD. For operating systems like Windows, we can use the Windows Installation media to create a bootable drive. However, if you prefer using Linux, download the desired distribution and follow their guidelines for creating bootable media, such as Ubuntu.
Once our bootable drive is ready, connect it to one of the USB ports on your desktop PC. Then, power on your computer and press the appropriate key to enter the BIOS setup. This key varies by motherboard, but typically it is the DEL, F2, or F10 key. You can refer to your motherboard’s manual for specific instructions.
Inside the BIOS, we need to change the boot order so that the computer boots from our installation media. Navigate to the “Boot” tab, adjust the boot priority, and make sure your USB drive or DVD is on top of the list. Remember to save your settings and exit the BIOS.
The computer will then restart and begin the OS installation process. Follow the on-screen prompts provided by the installer. This usually involves selecting the language, keyboard layout, and a custom or standard installation. If prompted, choose the SSD or hard drive where your OS will be installed.
During the installation process, you will be asked to create a user account and set a password. Make sure to write down this information, as you’ll need it later to log in.
After the installation is finished, your computer should reboot automatically and load the newly installed OS. Congratulations! You have successfully installed the operating system on your desktop PC.
Remember that you might want to update your drivers to get the best performance out of your newly built PC. Start exploring the new OS, customize it to your liking, and enjoy your handcrafted desktop PC.
Final Setup and Testing

After assembling your desktop PC, the final steps involve setting up the BIOS. Then, install drivers and perform stress tests to ensure optimal performance.
BIOS Configuration
Upon booting up the PC for the first time, we’ll need to configure the BIOS (Basic Input/Output System). To do this, press a specific key during startup, usually F2, F10, or DEL. This enters the BIOS settings. In the BIOS settings, we’ll need to do the following:
- Ensure that the boot order is set correctly. It should boot from the storage device that contains the operating system.
- Enable XMP (Extreme Memory Profile) to get the best performance from our memory modules.
- Verify that the fan and temperature settings are properly configured to prevent overheating.
Driver Installation
Before we can fully utilize our new desktop PC, we have to ensure that all system drivers are installed. Updating to the latest drivers will ensure optimal performance and compatibility. Here’s a brief list of the drivers that we’ll need to install:
- Motherboard drivers: Update the chipset, LAN, audio, and other necessary drivers. They’re provided by the motherboard manufacturer. Visit the manufacturer’s website. Download the latest drivers for our specific motherboard model.
- Graphics card drivers: Head to the GPU manufacturer’s website (NVIDIA or AMD). Download and install the latest graphics drivers. This will maximize our GPU’s capabilities.
- Peripherals: Install any necessary drivers for peripherals, such as gaming mice, keyboards, or printers.
Stress Testing
Finally, to ensure our custom-built PC is stable and reliable, we must put it through a series of stress tests. These tests will verify component functionality as well as system cooling efficiency.
- CPU stress test: Utilize programs like Prime95 or AIDA64 to stress test the CPU. Monitor CPU temperatures using tools like HWMonitor to ensure proper cooling.
- GPU stress test: Run programs like FurMark or 3DMark to push the GPU to its limits. Keep an eye on GPU temperatures to ensure heat is managed correctly.
- System stability test: Test the overall system stability by running software like PCMark 10 or Cinebench. This will help identify any issues with the PC’s overall performance.
By going through these final steps, we will guarantee that our custom-built desktop PC is ready for optimal performance and reliability. Now, let’s enjoy the fruits of our labor!
Finally, We Can Summarize The Test Steps
1. POST Test (Power-On Self-Test):
- Objective: Confirm the fundamental functionality of critical components.
- Procedure: Power on the system and observe for any error codes or beeps during the POST process.
- Outcome: A successful POST indicates proper functioning of the motherboard, CPU, RAM, and GPU.
2. BIOS/UEFI Configuration Check:
- Objective: Ensure the correct detection of components and configure basic settings.
- Procedure: To access the BIOS/UEFI settings, confirm component recognition. Adjust settings if needed.
- Outcome: Proper BIOS/UEFI configuration for system stability.
3. RAM Testing:
- Objective: Validate the integrity of RAM modules.
- Procedure: Run a memory test using tools like MemTest86 or Windows Memory Diagnostic.
- Outcome: Identify and address any errors in the RAM.
4. Storage Testing:
- Objective: Confirm the proper detection and configuration of storage drives.
- Procedure: Check BIOS/UEFI for recognized drives. Install the OS and make sure storage works.
- Outcome: Functional and configured storage devices.
5. CPU and GPU Functionality Check:
- Objective: Confirm proper recognition and seating of the CPU and GPU.
- Procedure: Verify component recognition in the BIOS/UEFI and ensure secure installation.
- Outcome: Properly recognized and seated CPU and GPU.
6. Peripheral Testing:
- Objective: Ensure the connectivity and functionality of input devices.
- Procedure: Test peripherals such as the keyboard and mouse for responsiveness.
- Outcome: Verified connectivity and functionality of input devices.
7. Audio and Network Testing:
- Objective: Confirm the functionality of audio outputs and network connections.
- Procedure: Test audio outputs and verify network connectivity.
- Outcome: Functional audio and network connections.
8. Graphics Testing:
- Objective: Confirm proper display output and graphics card functionality.
- Procedure: Check display settings and resolution, ensuring the GPU is delivering expected performance.
- Outcome: Proper display output and a functioning graphics card.
9. System Performance Check:
- Objective: Assess overall system performance.
- Procedure: Run basic applications and tasks to evaluate speed and responsiveness.
- Outcome: Smooth performance without signs of lag or slowdown.
10. Software Updates:
Objective: Ensure all software, including drivers, is up-to-date. Procedure: Install the necessary drivers and update the operating system and graphics card software. Outcome: Updated and optimized software for enhanced performance.
11. System Security Check:
Objective: Enhance system security. Procedure: Install antivirus software and configure firewall settings. Outcome: Improved security measures for the system.
12. Final System Check:
Objective: Confirm overall system functionality. Conduct a final check for error messages, unexpected shutdowns, and general system stability. Outcome: A fully functional and stable desktop PC ready for regular use
Frequently Asked Questions About How to Build a Desktop PC?
What does it take to build a desktop PC from scratch?
Building a desktop PC involves assembling individual components. These include the CPU, GPU, motherboard, RAM, and storage. It requires careful consideration of compatibility, proper tools, and attention to detail.
Is building a desktop PC a task for beginners or experts?
Both beginners and enthusiasts can successfully build a desktop PC. Many find it to be a rewarding learning experience. Numerous online tutorials and resources are available to guide newcomers through the process.
What components are essential for a basic desktop PC build?
Key components include a central processing unit (CPU), motherboard, RAM, and storage (HDD/SSD). Also, a power supply unit (PSU) and a computer case are necessary.
Specific needs, like gaming, may require additional components, such as a graphics card.
How much time does it typically take to build a desktop PC?
The time required varies based on experience, complexity, and the components involved. Beginners might take a few hours. Experienced builders can complete a build in less time.
Can I save money by building my own desktop PC instead of buying a pre-built one?
Building your own PC can be cost-effective. This allows you to customize components based on your needs. However, it requires time and research to ensure compatibility and proper assembly.
Do I need special tools to build a desktop PC?
Basic tools like screwdrivers and anti-static wrist straps are usually sufficient. Manufacturers design many PC components for tool-free installation. This makes the process accessible to DIY enthusiasts.
What safety precautions should I take while building a desktop PC?
Avoid static discharge. Use an anti-static wrist strap. Work on a non-conductive surface. Handle components carefully. Following the manufacturer’s guidelines is crucial for safety. Turning off the power supply is also crucial.
Can I upgrade components in a self-built desktop PC?
One advantage of building your PC is the ability to upgrade individual components over time. This flexibility allows you to adapt your system to changing needs. It also helps you keep up with technological advancements.
What resources are available for guidance during the PC-building process?
There are numerous online resources, including video tutorials, forums, and step-by-step guides. Many component manufacturers also provide detailed manuals and customer support to assist builders.
Can I seek professional help if I encounter issues during the PC build?
Seeking assistance from professionals or online communities can be valuable. It’s useful if you encounter difficulties. Many enthusiasts are willing to offer guidance. Component manufacturers often provide technical support.

